14 About Me Bullet Journal Layouts
Layouts determine how information is arranged on your About Me pages. The right layout makes your pages both beautiful and functional. Below are 14 About Me layout ideas that will help you design pages you’ll love looking at.
1. The Two-Column Layout
This classic layout divides your page into two vertical columns. It’s perfect for pairing related information and creating a balanced, organized look.
Use the left column for one category (like personal details) and the right column for another (like favorites). This layout works well for biography pages, favorites lists, and values pages. The symmetry makes it easy to read and visually pleasing.
QUICK TIPS
- Measure your page width and divide equally.
- Use a ruler to draw a clean vertical line.
- Keep content on each column roughly equal in length.
2. The Grid Layout
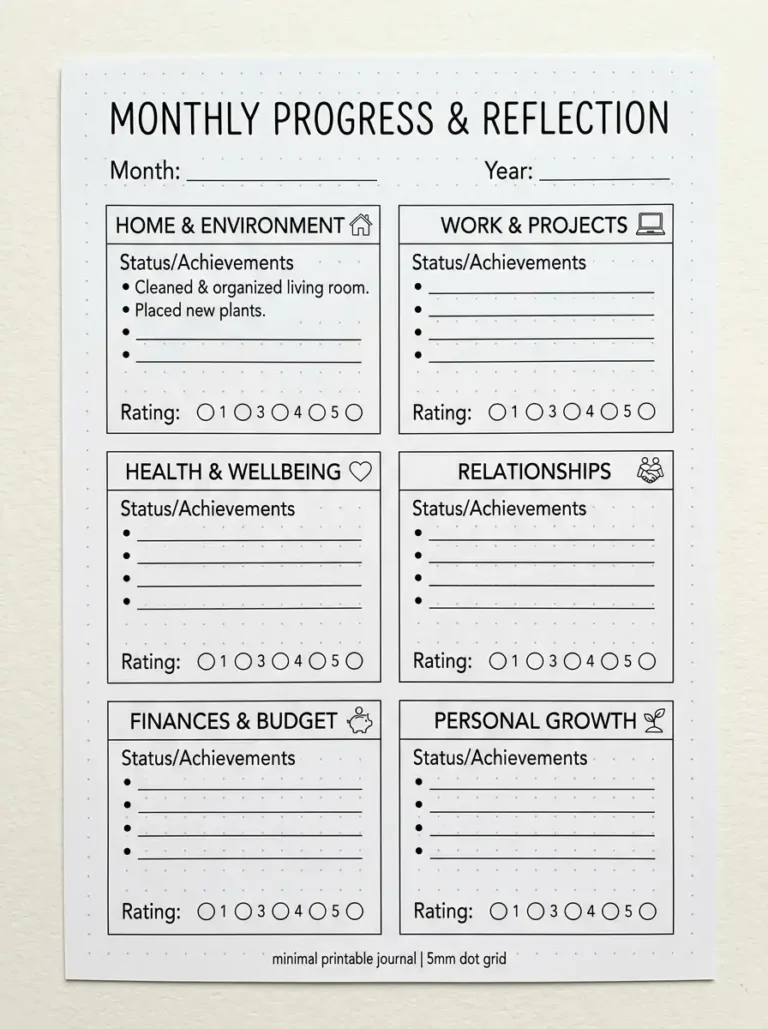
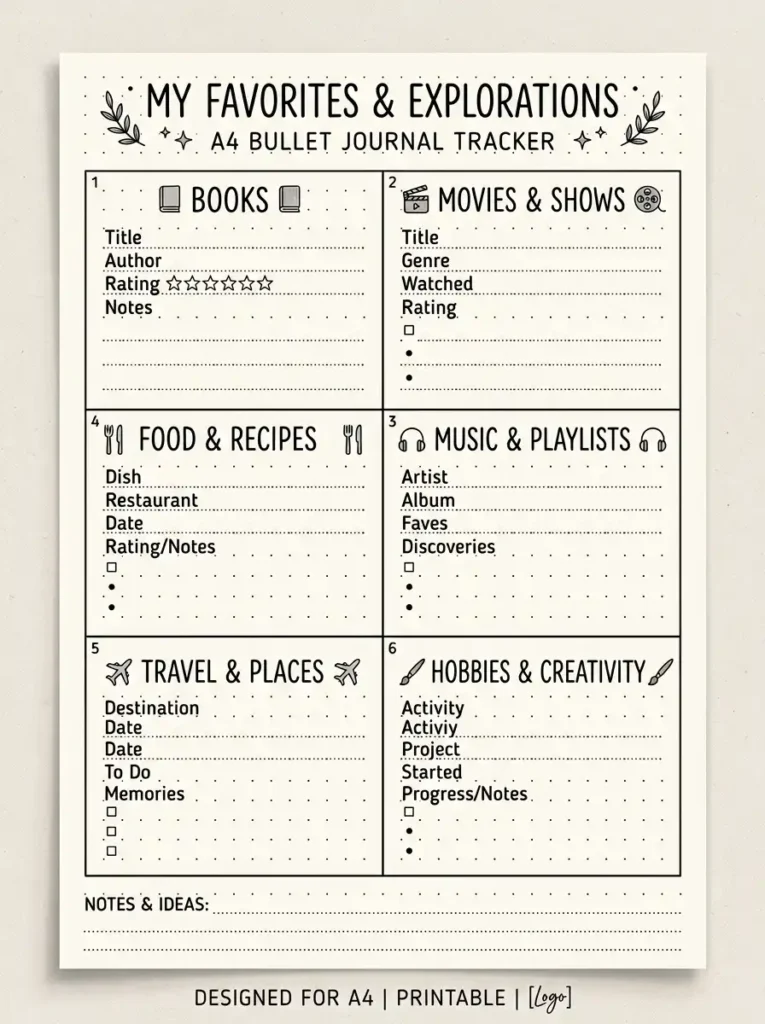
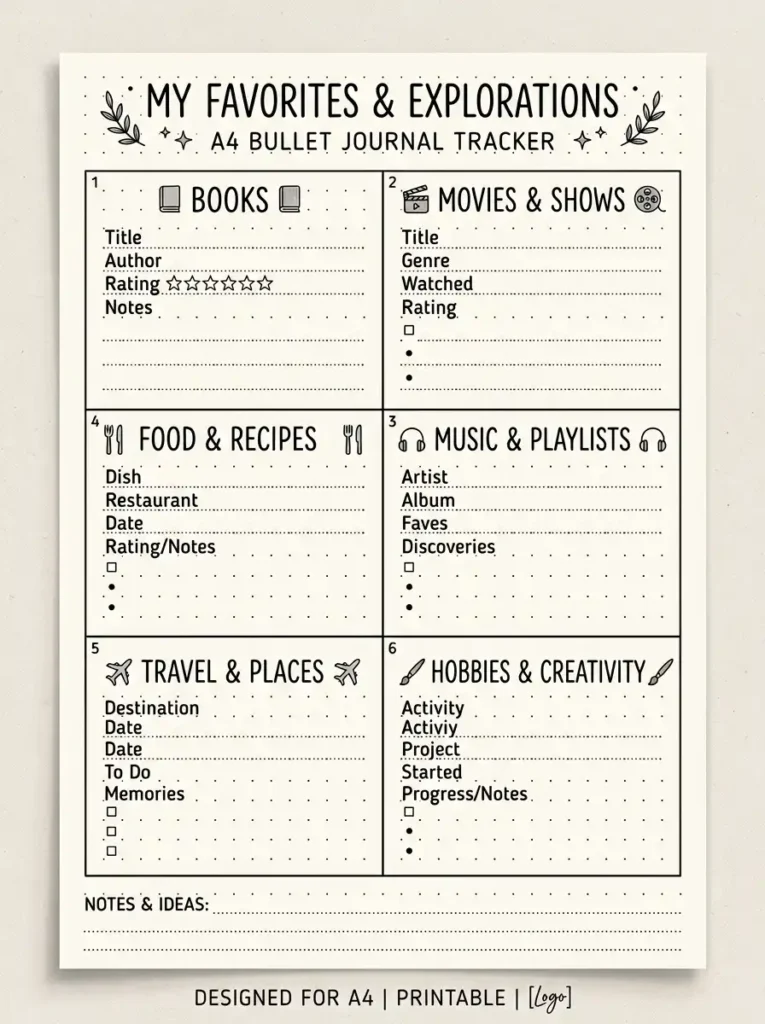
The grid layout uses a matrix of equal-sized boxes. This is ideal for organizing multiple categories or tracking information across different dimensions.
Draw 4-6 boxes on your page, each dedicated to a different category. For a favorites page, boxes could include Books, Movies, Music, Food, Travel, and Hobbies. This layout is visually clean and makes scanning easy.
QUICK TIPS
- Keep boxes uniform in size for a professional look.
- Use a ruler to measure and draw your grid.
- Add small icons or headers to each box.
3. The Circular Layout
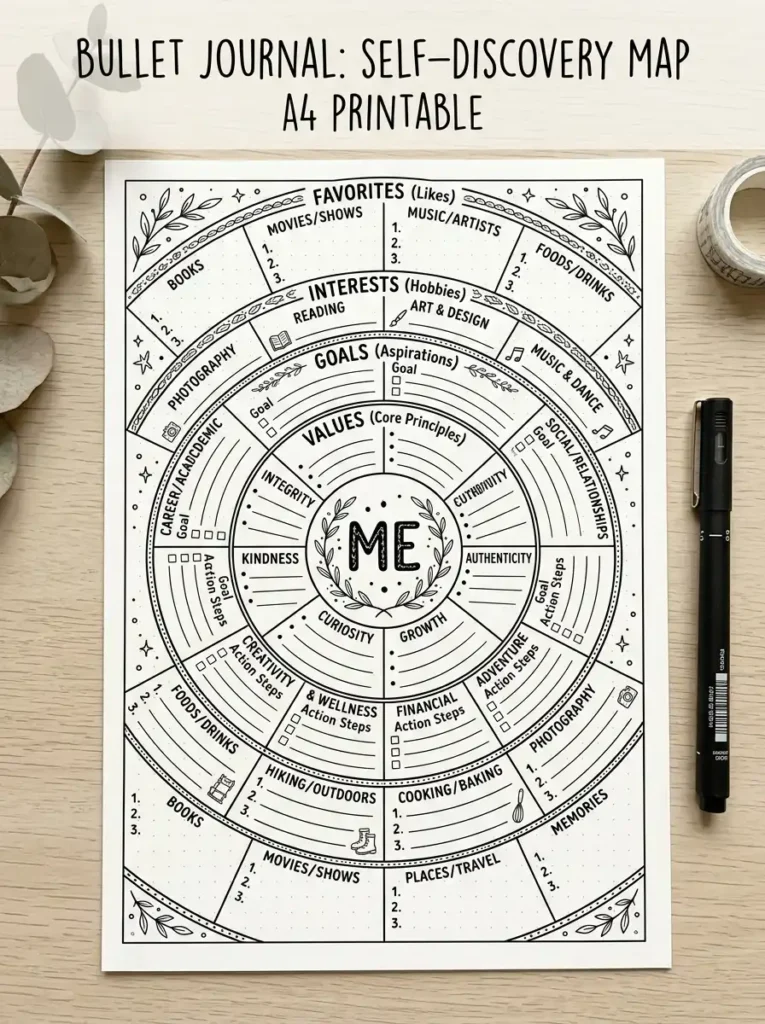
The circular or radial layout places the most important information at the center, with supporting details radiating outward. This creates visual interest and hierarchy.
QUICK TIPS
- Use a compass or round object to draw circles.
- Keep text size larger at the center and smaller outward.
- Add decorative elements between sections for visual appeal.
4. The Timeline Layout
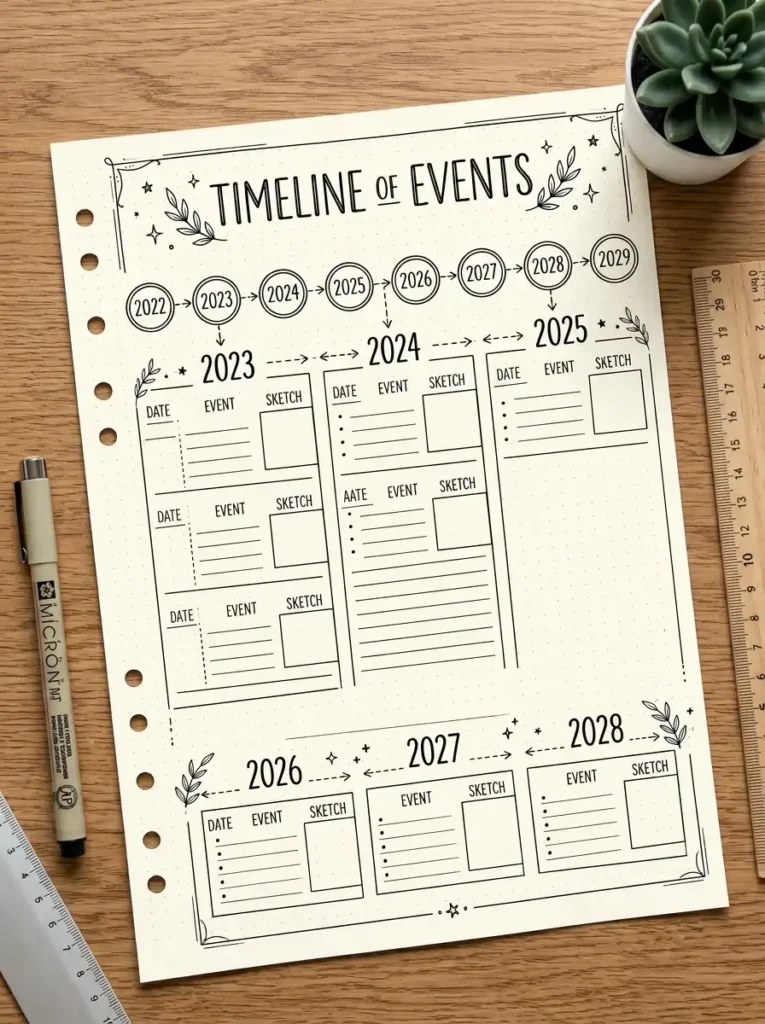
The timeline layout arranges information chronologically. It’s perfect for life timelines, personal histories, or documenting your journey.
Draw a horizontal or vertical line across your page. Mark dates or ages at intervals, then add descriptions of events at each point. Use small illustrations or symbols to represent each event. This layout tells a visual story of your life.
QUICK TIPS
- Use consistent spacing between timeline marks.
- Add brief event descriptions for clarity.
- Use different colors for different types of events.
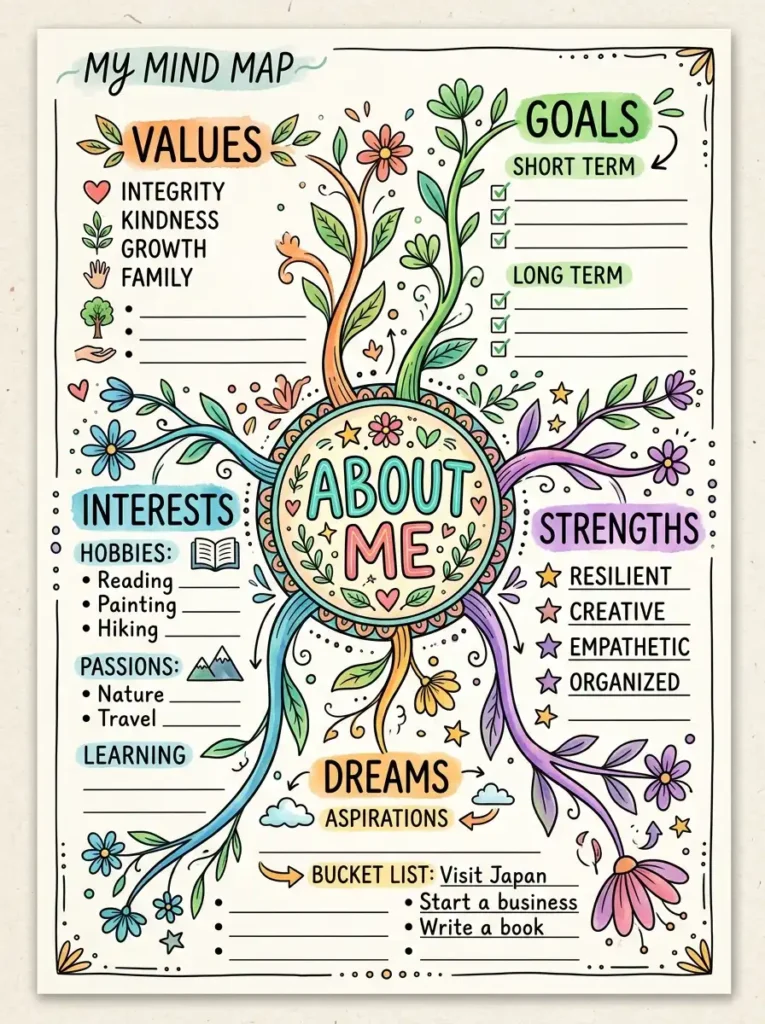
5. The Mind Map Layout
The mind map layout is free-form and organic. It’s ideal for brainstorming, exploring ideas, and capturing connections between different aspects of your personality.
Write your central theme (like “About Me”) in the center. Branch outward with different categories—Values, Goals, Interests, Strengths, Dreams. From each branch, add sub-branches with specific details. This layout encourages creative thinking.
QUICK TIPS
- Start with your main topic in the center.
- Use different colors for different branches.
- Let the layout grow organically as you add information.
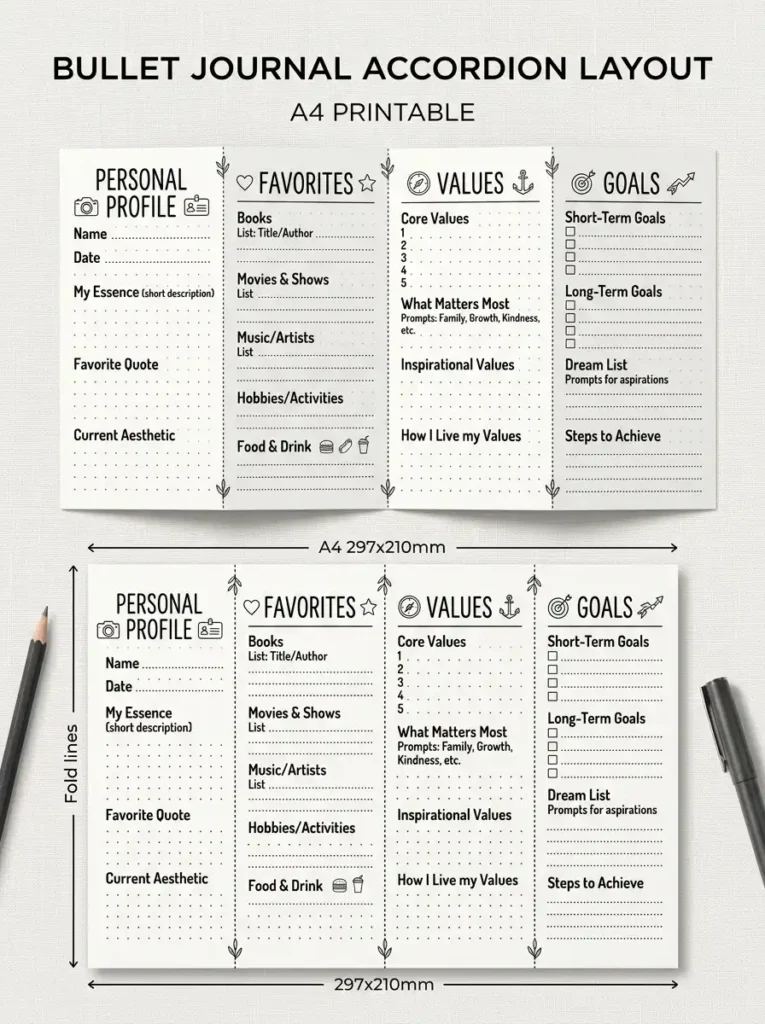
6. The Accordion Layout
The accordion layout folds or divides your page into sections that open one after another. This creates a sense of discovery as you move through your About Me pages.
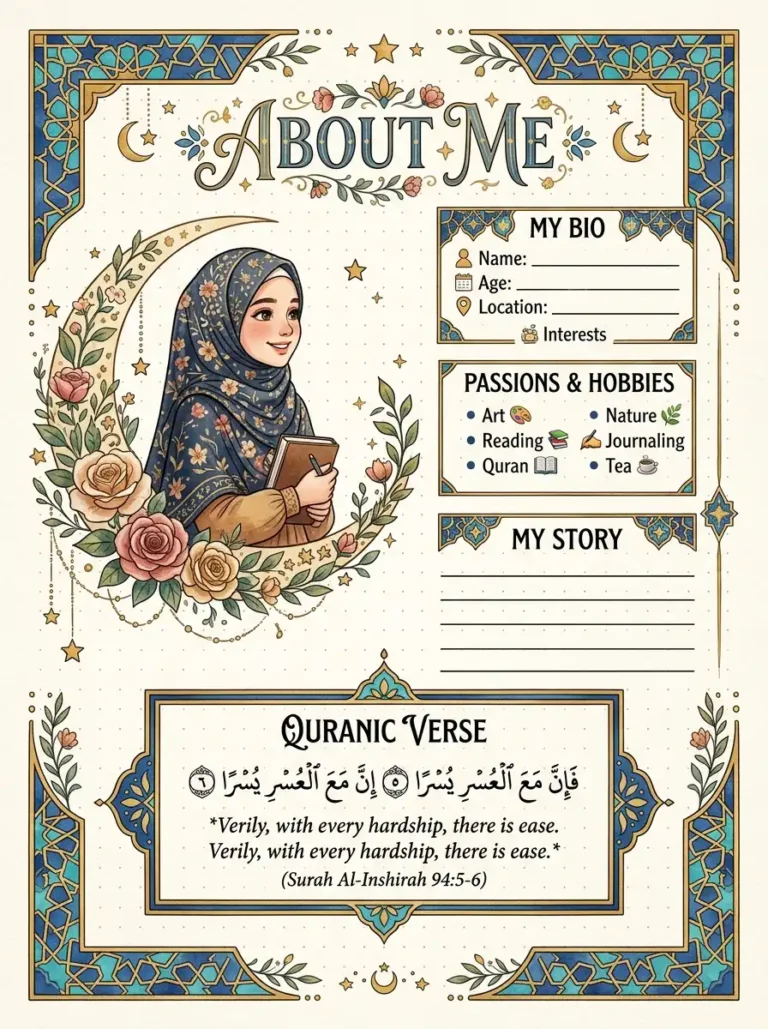
Divide your page into 3-5 vertical sections. Each section covers a different theme—Personal Profile, Favorites, Values, Goals, and Memories. Use headers to label each section. This layout works well for comprehensive About Me sections.
QUICK TIPS
- Keep each section distinct with clear headers.
- Use consistent spacing between sections.
- Add decorative dividers between sections.
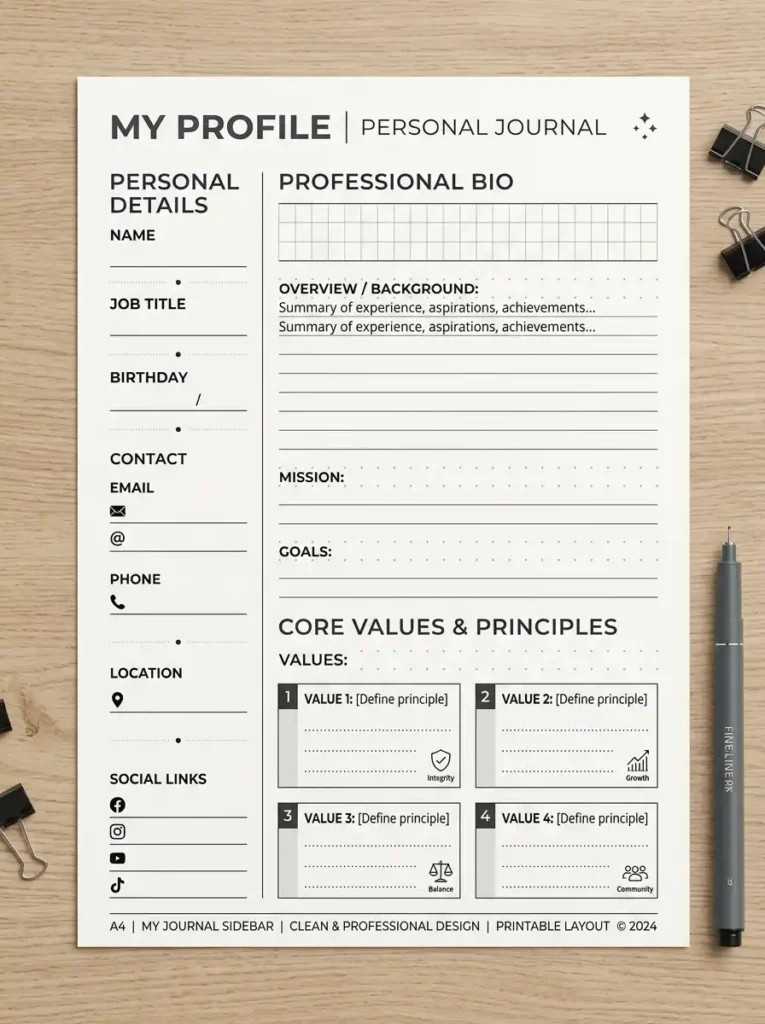
7. The Sidebar Layout
The sidebar layout places key information in a narrow column on one side, with more detailed content in the main area. This is perfect for quick-reference pages.
Use the sidebar for personal details (name, birthdate, location) or a favorite quote. Use the main area for deeper content like your bio, goals, or values. This layout is clean and professional.
QUICK TIPS
- Keep the sidebar narrow—1/3 of the page width.
- Use bold text or color to distinguish sidebar content.
- Use the main area for more detailed or descriptive text.
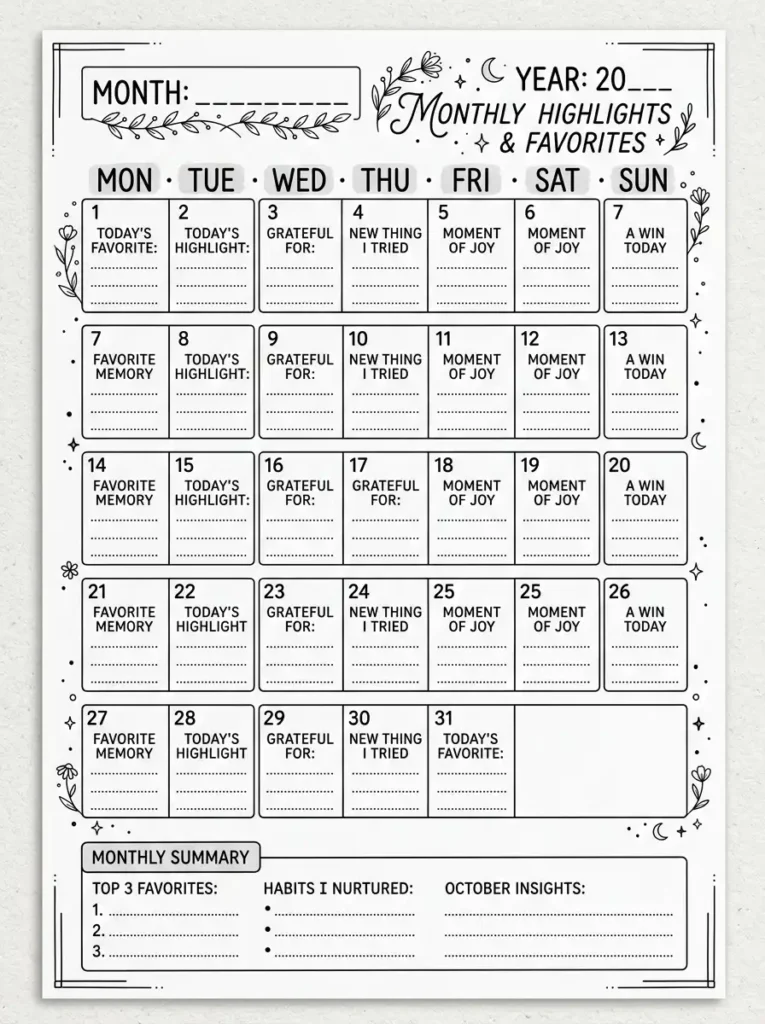
8. The Calendar Layout
The calendar layout organizes your About Me content by time. This is great for pages that document your current life or seasonal favorites.
Draw a monthly or weekly calendar grid. Instead of appointments, fill each day or week with a favorite thing, a gratitude entry, or a daily highlight. This layout is creative and fun for documenting day-to-day life.
QUICK TIPS
- Use a standard calendar grid with days and dates.
- Write brief entries in each day’s box.
- Use color coding to categorize entries.
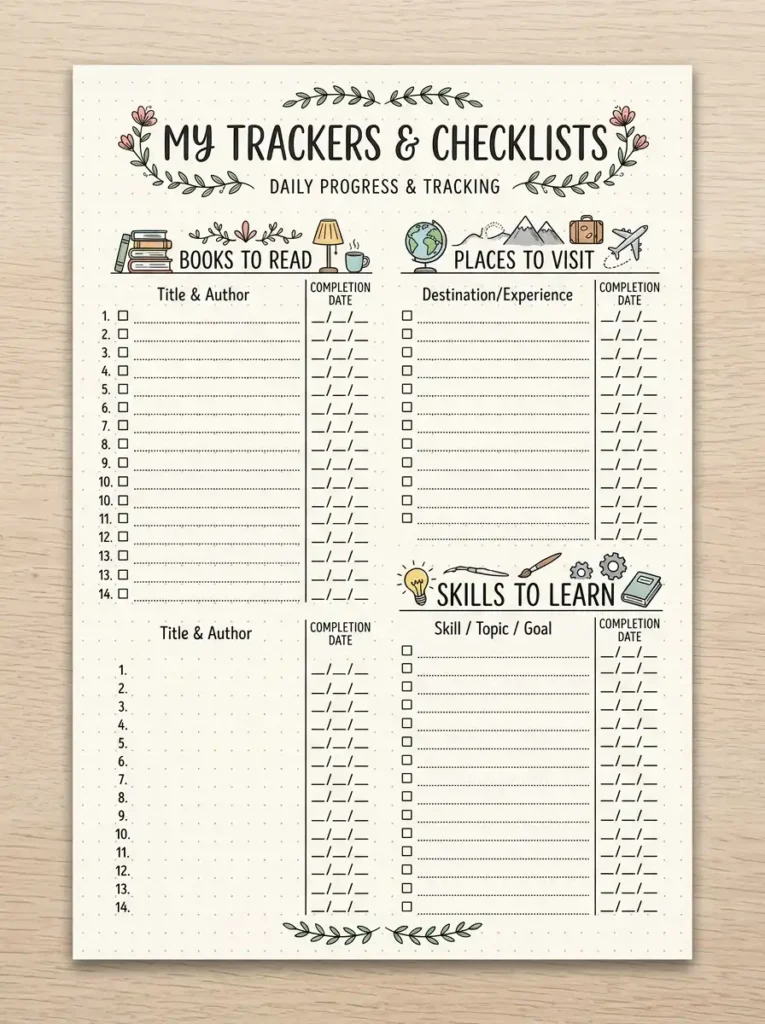
9. The Checklist Layout
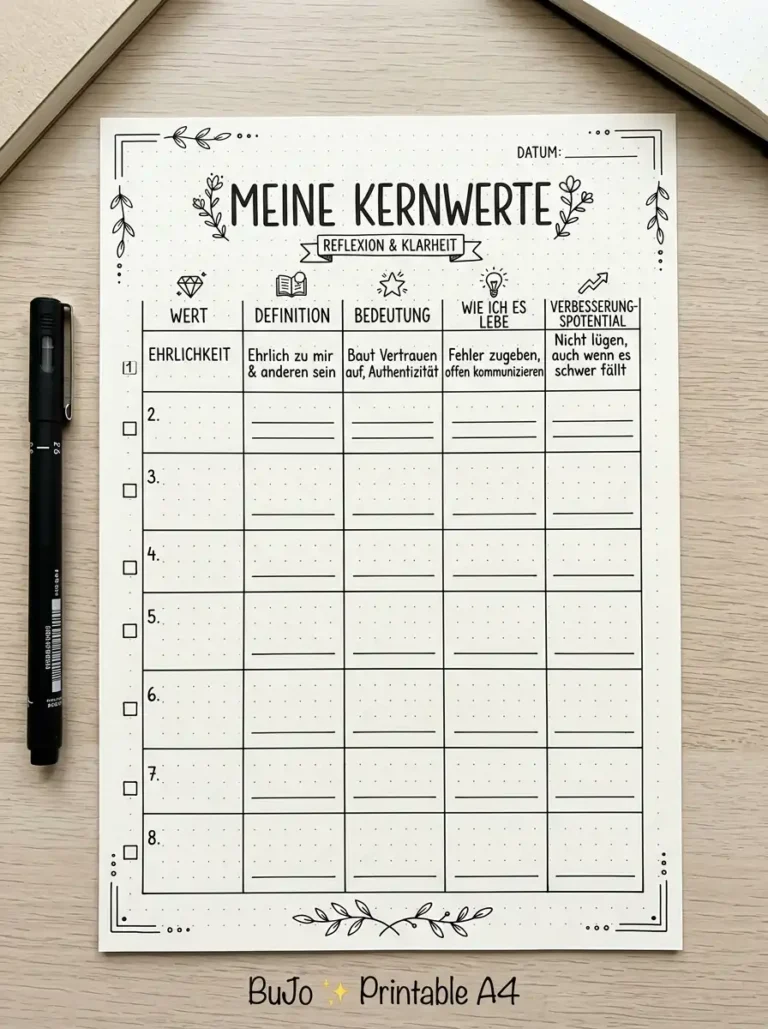
The checklist layout uses lists with checkboxes. It’s practical and satisfying for tracking interests, goals, or experiences.
Organize your content into lists with a checkbox next to each item. Use categories like “Books I Want to Read,” “Places I Want to Visit,” “Skills I Want to Learn,” or “Things I Love.” The checkbox format encourages completion and reflection.
QUICK TIPS
- Use consistent formatting for all checkboxes.
- Add a date column for when each item was completed.
- Use a different color pen for checked vs. unchecked items.
10. The Mood Board Layout
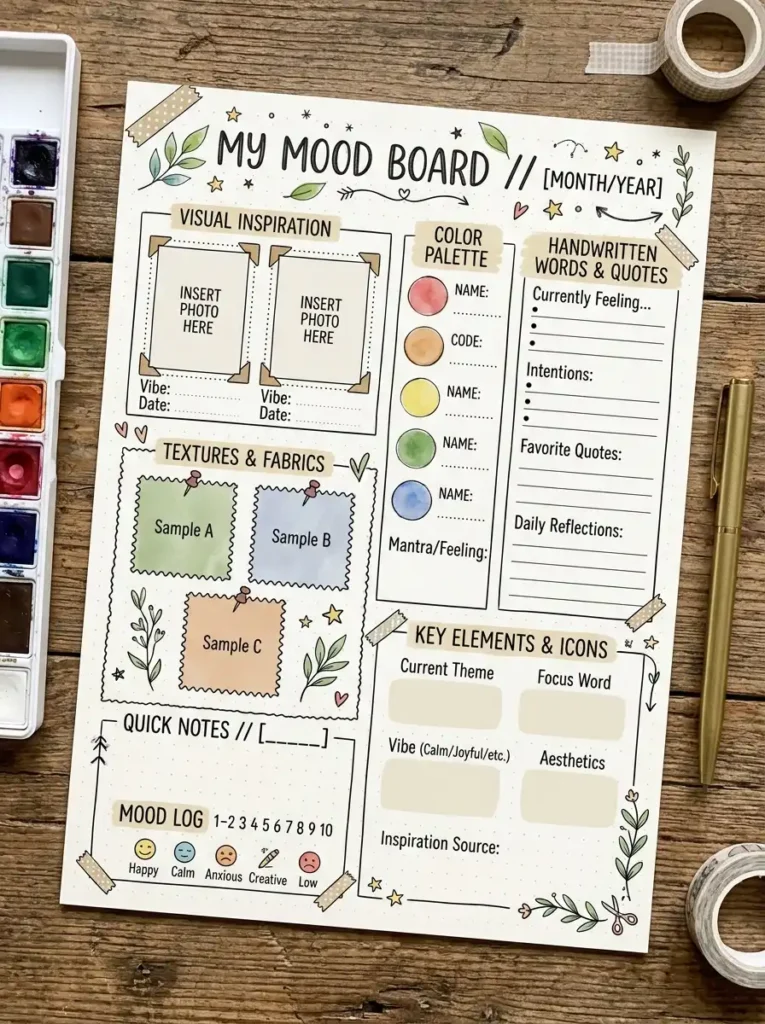
The mood board layout is highly visual and collage-like. It uses images, colors, textures, and words to express your personality and style.
Fill your page with photos, magazine clippings, color swatches, fabric samples, and hand-drawn elements. Arrange them in a way that feels authentic to you. This layout is expressive and creative.
QUICK TIPS
- Choose images and colors that represent your aesthetic.
- Use glue or washi tape for attaching materials.
- Add handwritten words or quotes for personal meaning.
11. The T-Chart Layout
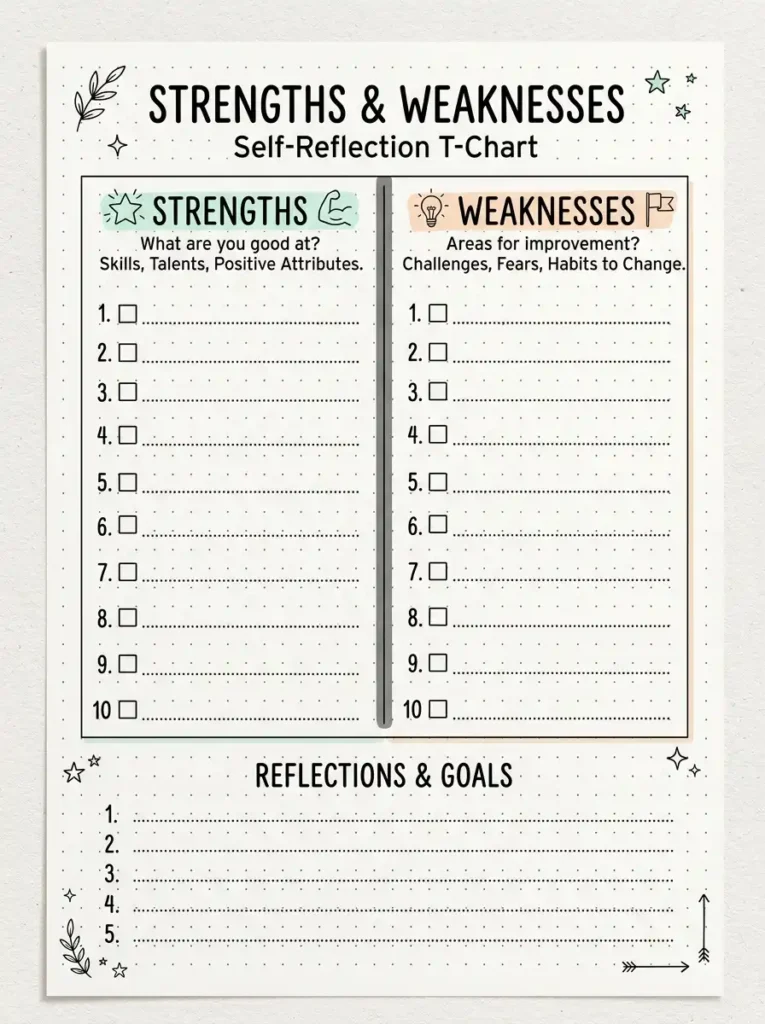
The T-chart layout compares and contrasts two categories. This is great for exploring personality traits, strengths vs. weaknesses, or what you love vs. what you don’t.
Draw a large “T” on your page. On the left side, list one category (like “Strengths”). On the right side, list the contrasting category (like “Weaknesses”). This layout makes comparisons clear and visual.
QUICK TIPS
- Label each side clearly with a header.
- Keep entries brief and parallel in structure.
- Use different colors for each side.
12. The Minimalist Layout
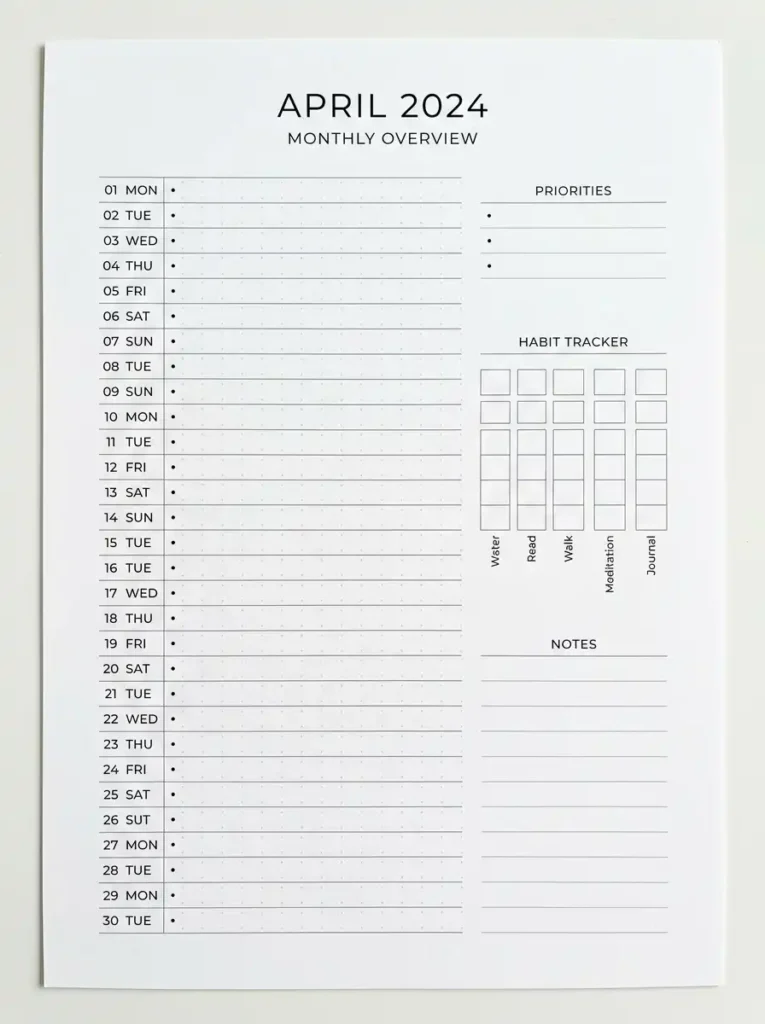
The minimalist layout uses clean lines, white space, and simple typography. It’s perfect for those who prefer a clean, modern aesthetic.
Use a simple centered title at the top. Below it, write brief entries with plenty of space between each. Avoid excessive decoration or clutter. This layout is elegant and easy to read.
QUICK TIPS
- Use a clean, simple font or handwriting.
- Leave generous white space around text.
- Limit decorations to one or two subtle elements.
13. The Interactive Layout
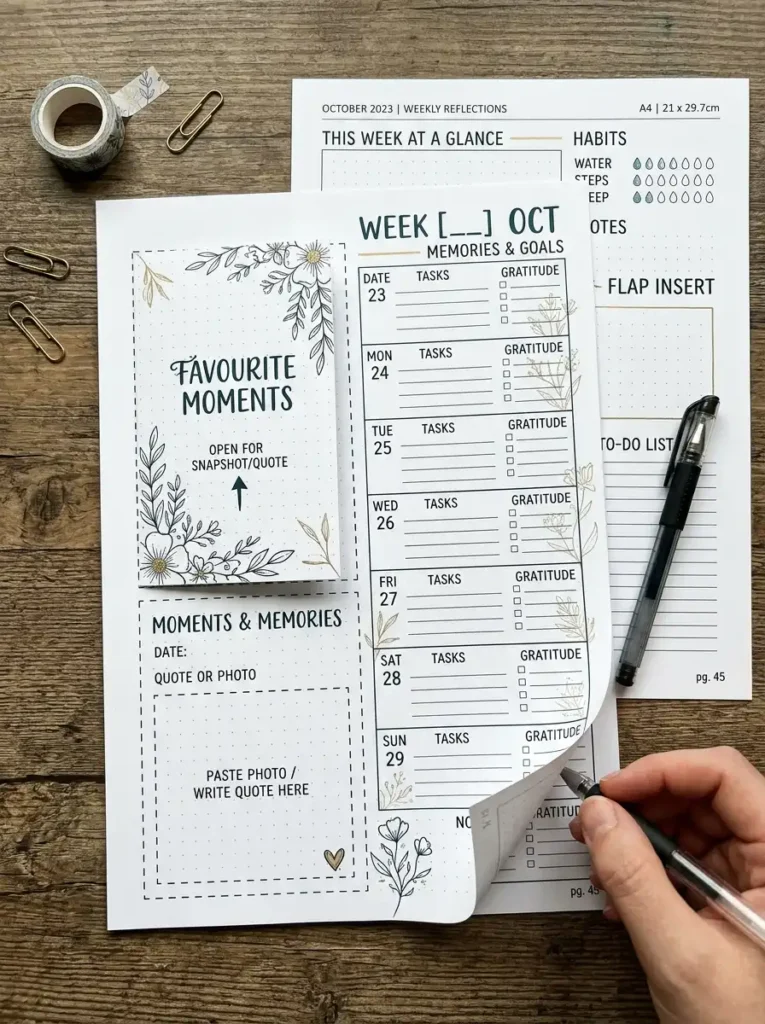
The interactive layout includes flaps, fold-outs, or pockets. These add a tactile, engaging element to your About Me pages.
Create a page with a flap that covers part of the information. Under the flap, add additional details or a surprise element like a photo or quote. You can also add a pocket for small keepsakes.
QUICK TIPS
- Use washi tape to create flaps or pockets.
- Keep interactive elements simple for durability.
- Add a small tab or label for easy opening.
14. The Scrapbook Layout
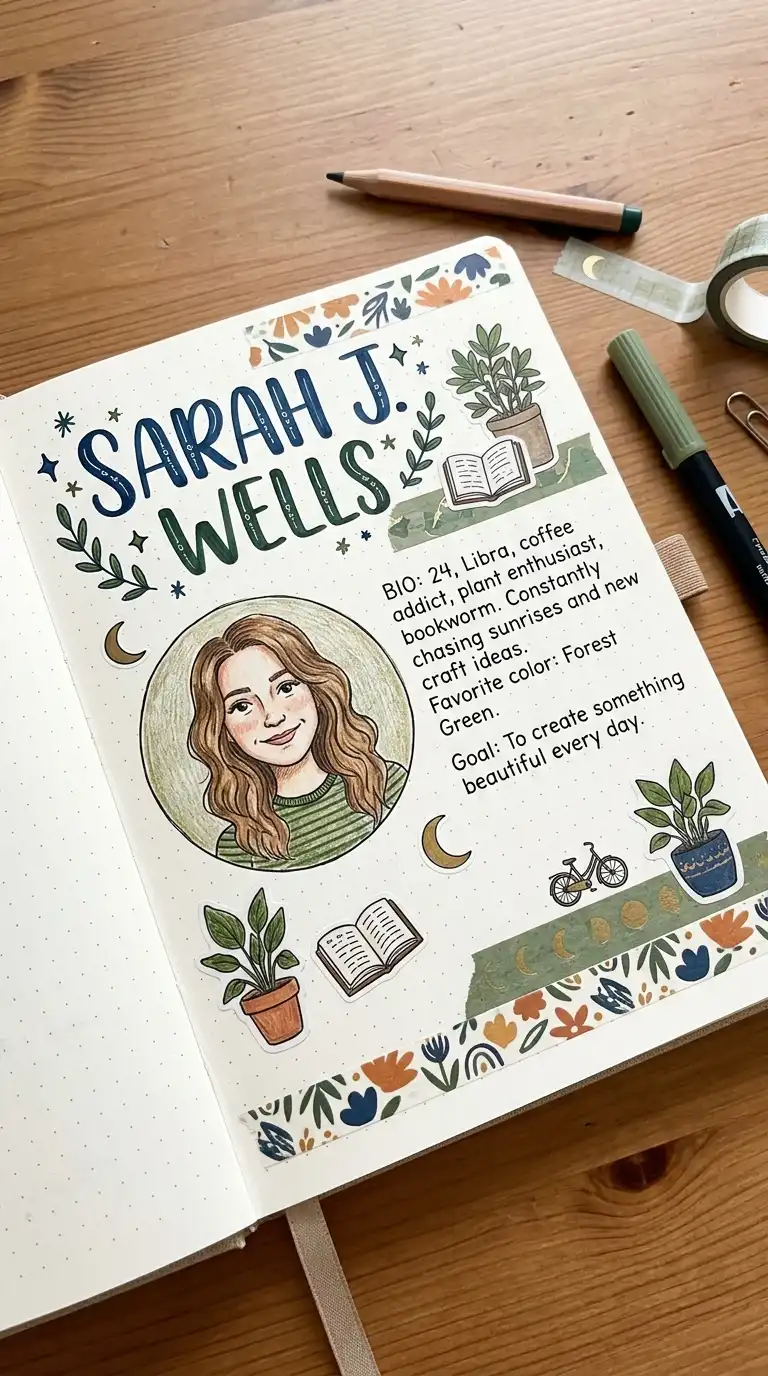
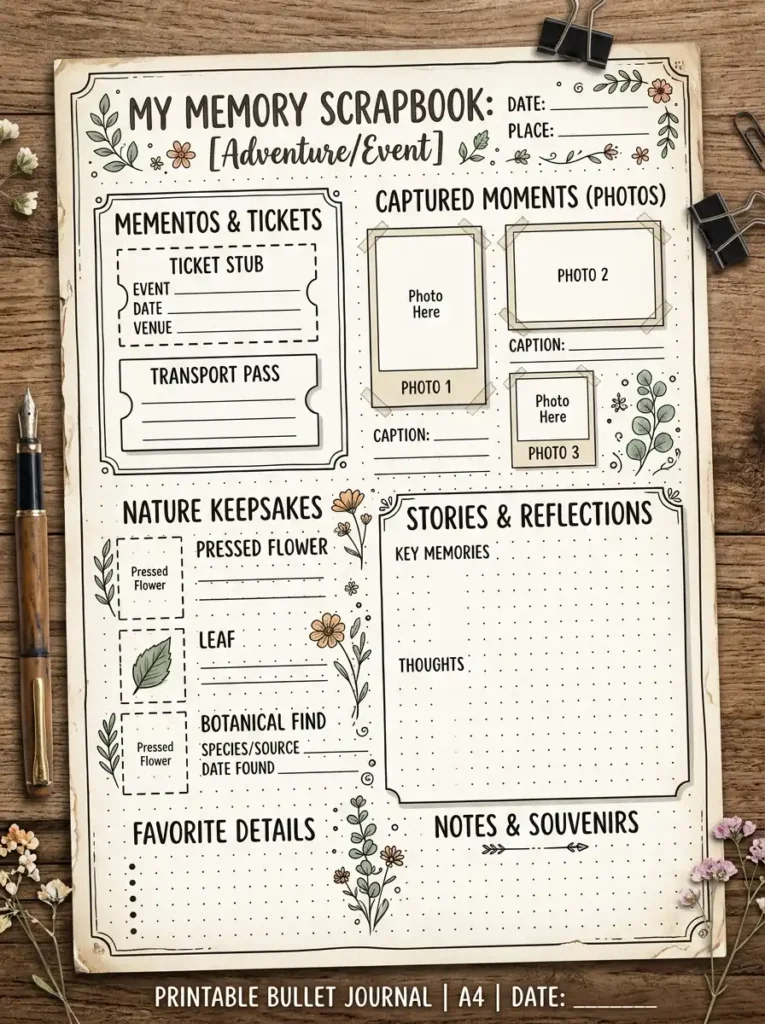
The scrapbook layout is personal and nostalgic. It uses photos, ticket stubs, dried flowers, and other small mementos alongside handwritten notes.
Collect small keepsakes from your life—photos, ticket stubs, postcards, pressed flowers, or handwritten notes. Arrange them on your page and add labels or reflections. This layout becomes a personal time capsule.
QUICK TIPS
- Use clear glue or photo corners for attaching items.
- Write brief labels or captions for each item.
- Include a date for each keepsake.
Final Thoughts
Your About Me layouts are the visual foundation of your personal pages. The right layout makes your content shine and reflects your unique style. Try different layouts to discover what feels most authentic and functional for you.
Start with one layout that appeals to you. As you become more comfortable, experiment with new layouts for different types of About Me pages. Each layout you try teaches you something about your preferences and helps you create pages you’ll love looking at.